How to Wash, Dry, and Iron Your Finished Cross Stitch Project: A Step-by-Step Guide
Share
After hours of intentional stitching and mindfulness, your beautiful cross stitch design is finally complete. Congratulations! Now it’s time to give your project a gentle clean to remove any oils, dust, or markings before displaying or framing it. In this tutorial, I’ll walk you through how to wash, dry, and iron your finished cross stitch with care.
Whether you stitched a Blooming Intention design or any other project, this process will keep your piece looking fresh and flawless for years to come.
Step 1: Gather Your Supplies
You’ll need:
-
A clean basin or bowl
-
Lukewarm water (not hot)
-
Mild liquid soap (like dish soap or baby shampoo)
-
A clean towel
-
An iron and ironing board
- A second clean towel or pillowcase for ironing
Step 2: Prepare a Soapy Bath
-
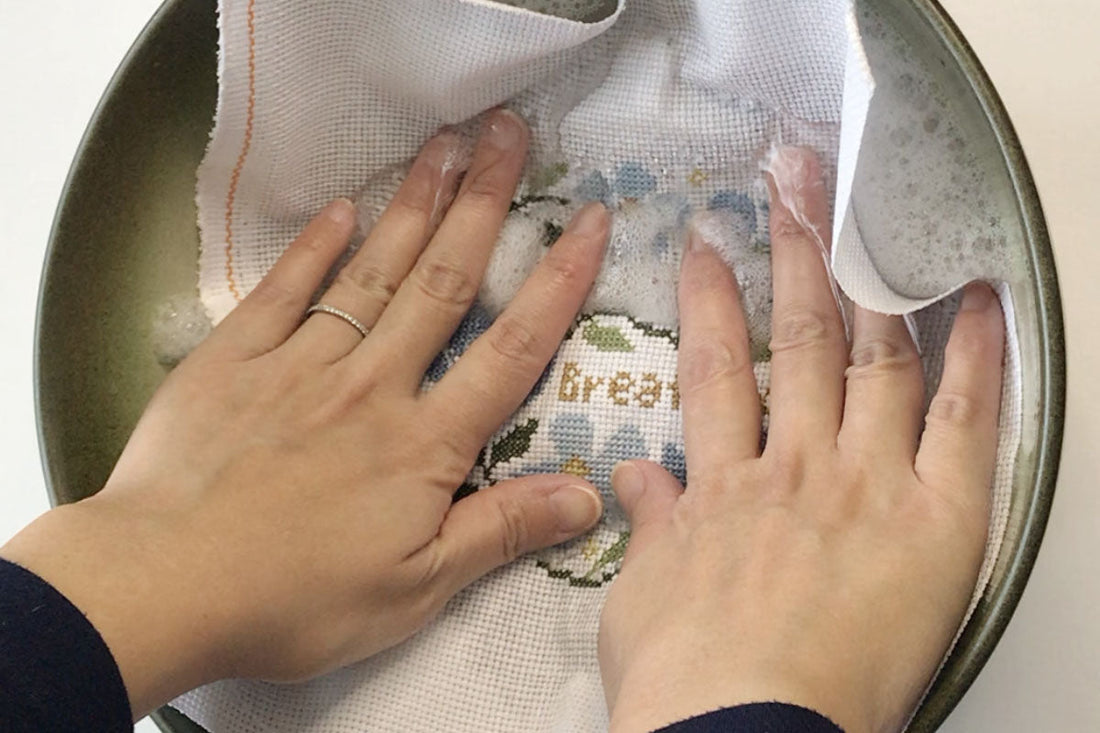
Fill your basin with lukewarm water.
-
Add a small drop of mild soap and mix to create gentle suds.
- Make sure your hands are clean to avoid transferring oils or lotion onto your stitching.
Step 3: Soak Your Cross Stitch
-
Place your finished cross stitch piece in the soapy water. Let it soak for about 15–20 minutes. This helps loosen any dirt or oils from your hands or hoop marks.
- Do not scrub or wring the fabric, just let it soak peacefully.


Step 4: Rinse Gently
-
Remove the fabric from the soapy water.
-
Rinse under lukewarm running water or in a second bowl of clean water until all the soap is gone.
- Repeat with fresh water if needed. Your goal is to have no soap residue left in the fabric.
Step 5: Dry Carefully
-
Lay a clean towel flat, then place your damp cross stitch project on it.
-
Gently roll up the towel like a burrito with the stitching inside.
-
Press down lightly to absorb excess moisture.
Do not wring or twist, it can distort your stitches and fabric.
-
Unroll and lay your piece flat on a dry towel to air dry slightly.
Let it dry until it’s just damp (not soaking wet).
Optional: Check for Hoop Marks or Wrinkles
If you used a hoop while stitching, you might notice some slight creases. Ironing will help smooth them out in the next step.

Step 6: Iron Your Cross Stitch
-
Set your iron to a low or medium heat setting with no steam.
-
Lay your stitched piece face-down on a soft towel or pressing cloth.
-
Place a clean pressing cloth (or pillowcase) on top of the fabric to protect it.
-
Gently press with the iron, moving in small circular motions.
Don’t press directly on the stitches, it could flatten the texture.
- Check occasionally and adjust as needed. Once the fabric is smooth and dry, you're done!
Bonus Tips:
-
If you used soluble fabric markers, washing helps remove any lingering ink.
-
Always test your threads before washing if you're unsure about colorfastness (most modern threads are safe).
- Never hang your piece to dry, it can stretch and distort the fabric.
✨ Your Mindful Work Deserves a Beautiful Finish
This final step is a loving way to care for your finished design. With a gentle wash and press, your artwork will be clean, crisp, and ready to be displayed, gifted, or framed.


