
How to Start & End Your Threads Neatly in Cross Stitch
Keeping your stitches neat starts with how you begin and end your thread. A secure start prevents unraveling, while a tidy finish keeps the back of your work looking clean. In this tutorial, we’ll cover three ways to start your thread, the loop start method (my favorite method), catching the tail method, and burying the tail under nearby stitches. We will also cover how to securely end your thread.
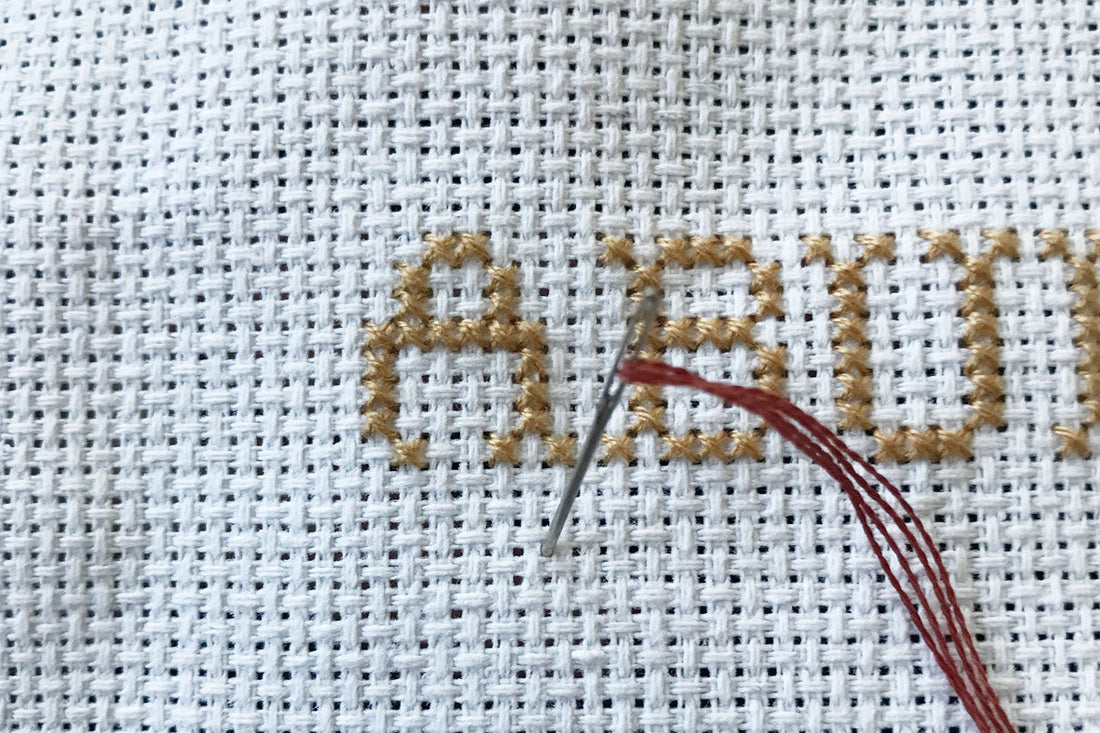
How to Start Your Thread
1. Loop Start Method (for even number of strands)
This is one of the cleanest and most secure ways to start stitching, but it only works when using an even number of strands.

- Cut your thread to about 36” long and separate out one strand. Our Blooming Intention cross stitch kit includes pre-cut thread strands that are 36" long.
- Fold it in half so the two ends meet, creating a loop at the other end.
- Thread the loop end into your needle.
- Insert the needle from the front of the fabric, leaving the loop on the front side.
- Pull the needle through to the back, then bring it back up through the next hole of the stitch.
- Pass the needle through the loop at the front and gently pull until the loop tightens against the fabric.
- Continue stitching as normal.
2. Catching the Tail Method

If you’re using an odd number of strands or prefer a simple start, this method secures the thread within your first stitches.
- Leave about an inch of thread on the back when making your first stitch.
- As you stitch, make sure your needle passes over the loose tail on the back to hold it in place.
- After a few stitches, the tail will be secured, and you can trim any excess.
This method works well for securing the thread without extra steps.
3. Burying the Tail Under Nearby Stitches (for existing stitches nearby)
If there are stitches already in place, you can start your thread by weaving it under them.
- Flip your fabric over and run the needle under 3-4 nearby stitches on the back.
- Bring the needle up through the fabric to start stitching.
- Once the thread is secured under the stitches, continue as normal.
This method is especially useful when adding new colors or starting a new section of your pattern.
How to End Your Thread
No matter which method you use to start stitching, securing your thread at the end is just as important.

- Weave it under existing stitches – Flip your work over and run the needle under 3-4 stitches on the back.
- Change direction – For extra security, turn and weave the needle under another stitch in a different direction.
- Snip the excess – Cut the thread close to the fabric, being careful not to snip any stitches.
Avoid using knots to end your thread, as they can create bumps on your fabric.
Final Thoughts
Starting and ending your thread neatly keeps the front and back of your cross stitch looking polished. Whether you use the loop start method, catching the tail, or burying the tail under stitches, choosing the right technique makes stitching easier and more enjoyable.
Want a stress-free way to practice your stitches? Check out our mindful adult cross stitch kits, designed to help you stitch with intention and ease!


